


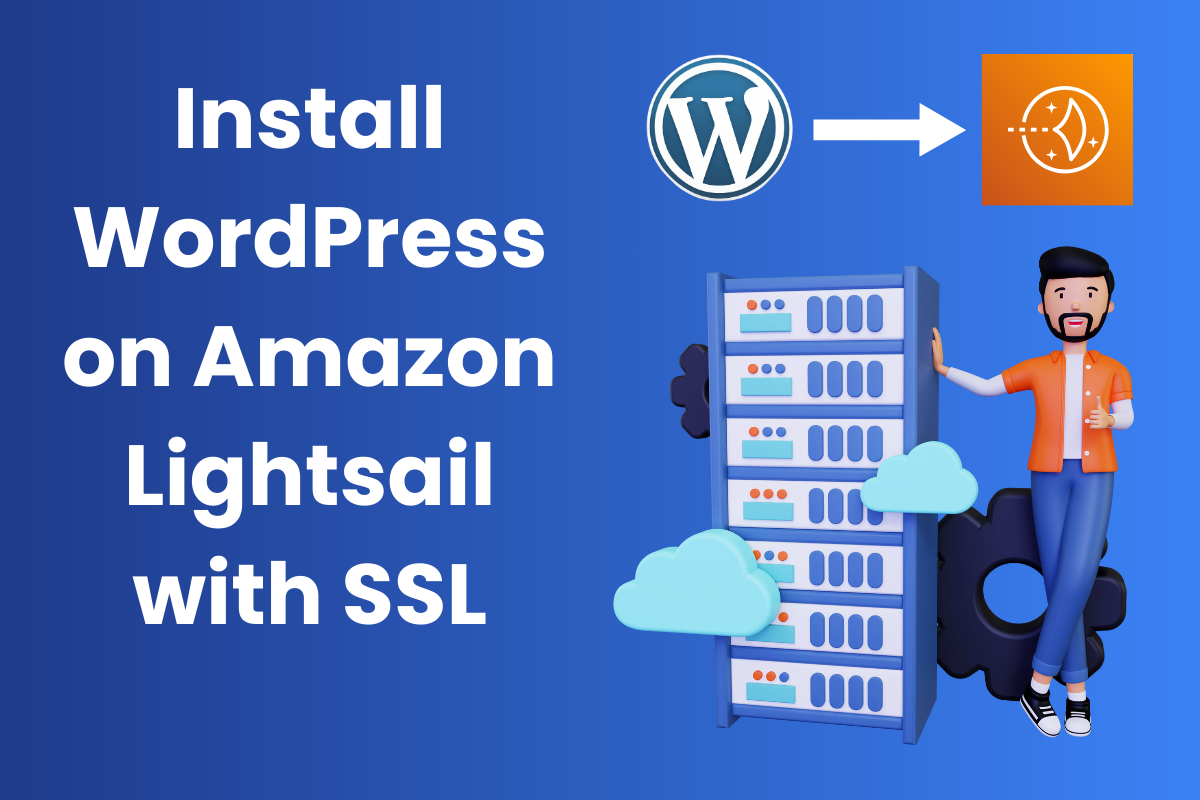
Are you new to website creation and want an easy, budget-friendly way to host your own WordPress site? Install WordPress on Amazon Lightsail for a smooth, beginner-friendly experience. Amazon Lightsail is a cloud hosting service that offers a simplified way to launch WordPress, perfect for beginners who want to avoid technical headaches. In this guide, I’ll walk you through every step to get your WordPress site live on Amazon Lightsail—even if you’ve never used hosting services or AWS (Amazon Web Services) before.
Step 1: Setting up Amazon Lightsail
Creating Your AWS Account
If you don’t already have an AWS account, you’ll need to create one:
- Go to the AWS Sign-Up page and click “Create a Free Account.”
- Provide your email, password, and payment details (you won’t be charged immediately).
- After signing up, AWS may ask you to verify your account through a phone number or other security measures. Once verified, you can log in to the AWS Management Console.
Accessing the Lightsail Service
- From the AWS Console, locate the “Services” menu at the top of the screen.
- Type “Lightsail” in the search bar or find it under the “Compute” section. Click on Lightsail to open the Lightsail dashboard.
Lightsail simplifies the website hosting process by providing straightforward tools and options, so you won’t need to navigate the more complex parts of AWS.
Step 2: Creating a WordPress Instance
Now that you’re on the Lightsail dashboard, it’s time to create a “WordPress instance.” An instance is essentially a virtual server that runs your website on the cloud.
Steps to Launch a New WordPress Instance
- Click “Create Instance”: This is the main button you’ll see on the Lightsail dashboard. It will take you to the instance setup page.
- Choose a Region: Select a geographic region closest to your target audience to reduce loading times.
- Select Platform and Blueprint:
- Choose Linux/Unix as the platform.
- Under “Blueprint,” select WordPress. This blueprint includes all necessary configurations to set up WordPress automatically.
- Choose an Instance Plan: Lightsail offers affordable plans, starting at $3.50 per month. Select one based on your budget and expected website traffic. For most beginners, the basic plan should be sufficient.
- Name Your Instance (Optional): You can give your instance a custom name if you like, but Lightsail will assign a default name if you leave this blank.
- Create Your Instance: Click the “Create Instance” button. Lightsail will now set up your WordPress server, which may take a few minutes. When ready, you’ll see your instance on the Lightsail dashboard with a public IP address.
Step 3: Configuring and Accessing Your WordPress Instance
Once your WordPress instance is live, it’s time to retrieve your admin password and configure the instance to access WordPress securely.
Accessing Your Instance and Retrieving the WordPress Admin Password
- In the Lightsail dashboard, click on your instance name to view its details.
- Click on the Connect tab and choose “Connect using SSH.” This will open a terminal window in your browser where you can interact with your server.
- In the terminal, enter the following command to get your WordPress admin password:cat bitnami_application_password
This command will display your password on the screen. Copy it and keep it safe, as you’ll need it to log in to WordPress.
Step 4: Accessing and Setting Up WordPress
Logging Into WordPress
- In a new browser tab, enter your instance’s public IP address. This should display your WordPress website.
- To access the WordPress admin dashboard, go to
[Your IP Address]/wp-admin. For example, if your IP is12.34.56.78, enterhttp://12.34.56.78/wp-admin. - Enter the default username (
user) and the password you retrieved earlier. - Once you log in, you’ll be in the WordPress dashboard, ready to start customizing your site!
Step 5: Attaching a Static IP and Setting Up a Custom Domain (Optional)
For your site to retain a consistent address, attaching a static IP is recommended. This will also be necessary if you plan to connect a custom domain to your site.
Attaching a Static IP
- Go to the Networking tab in Lightsail.
- Choose Create Static IP and select the WordPress instance you created.
- Assign a name to your static IP and click Create and Attach.
The static IP ensures that even if you restart your instance, your site’s IP address remains the same.
Setting Up a Custom Domain (Optional)
- Register a domain with any domain registrar (e.g., GoDaddy, Namecheap).
- In your registrar’s DNS settings, point the domain to the static IP you attached to your Lightsail instance:
- Add an “A” record with your domain name pointing to the static IP address.
- Optionally, add a “CNAME” record for “www” that points to your root domain.
You can now access your WordPress site using your custom domain.
Step 6: Securing Your WordPress Site with SSL (HTTPS)
Securing your site with HTTPS not only helps protect visitor data but also improves SEO. Lightsail offers free SSL certificates through Let’s Encrypt.
Adding SSL to Your WordPress Site
- Connect to your instance using SSH from the Lightsail dashboard.
- Run the following command to start the Let’s Encrypt tool:
sudo /opt/bitnami/bncert-tool - Enter your domain name (e.g.,
yourwebsite.com www.yourwebsite.com) when prompted. - Choose to enable HTTP to HTTPS redirection for extra security.
- Review and confirm your choices, and the tool will complete the SSL setup.
Once configured, your site will be accessible via HTTPS. Check that your browser displays a padlock icon next to your site’s address, indicating it’s secure.
Step 7: Final Customization and Exploration
With WordPress installed, you’re now free to customize your site:
- Themes: Go to the Appearance > Themes section in WordPress to choose a look for your site.
- Plugins: Enhance your site’s functionality with plugins. Popular choices include Yoast SEO for optimization and Akismet for spam protection.
- Settings: Visit Settings > General to ensure your site’s address uses HTTPS.
Conclusion
You’ve successfully launched a WordPress site on Amazon Lightsail! With this setup, you have full control over your site’s hosting and security. From here, you can explore further customizations, add plugins, and start creating content. Don’t hesitate to dive into WordPress resources to expand your knowledge and get the most out of your new website.